Add files to CD, DVD, or Bluray disc
AnyBurn can add files to a writable disc if it is not closed or finalized, thus to create multi-session disc. You can append files to the disc many times as long as the disc is not closed and there is enough space to hold the files.
To add files to a writable compact disc, please follow the steps,
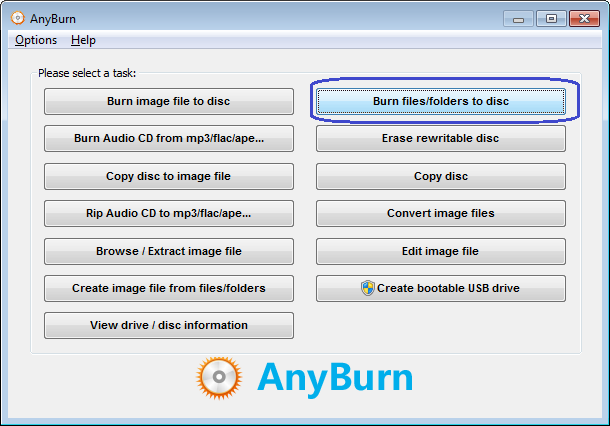
1. Insert the disc which has already files on it, and is not closed. Run AnyBurn, then click "Burn files/folders to disc".
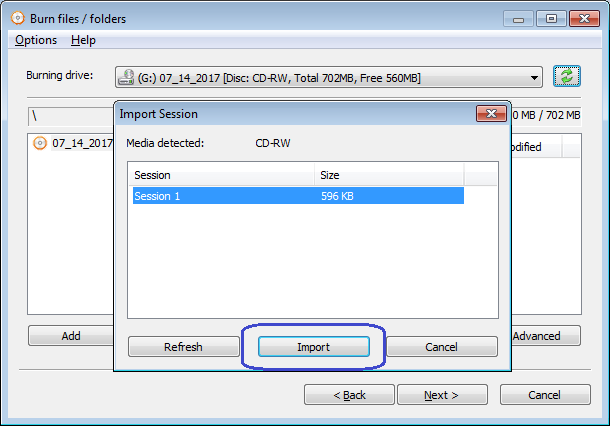
2. AnyBurn will list all sessions in the disc. Select a session from the list, then click "Import" to import the files in the session. Usually you just select the last session. If the currently drive is not the correct drive containing the disc, you can select it from the burning drive list, then the "Import session" dialog will popup.
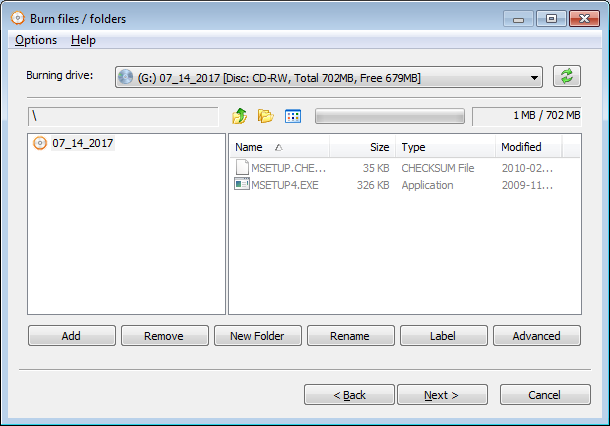
AnyBurn will import all files in the selected session. The files already on the disc show in gray color.
3. You can add files to current compilation, remove some files, or make other modification. Below are the available buttons to edit the compilation,
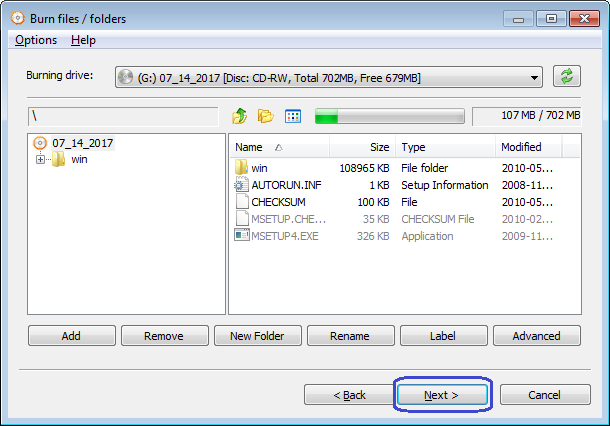
"Add": Add files and folders to current compilation. You can also use copy&paste or drag&drop to add files to the compilation.
"Remove": Select files and folders in the compilation, click "Remove" button to remove them from compilation.
"New Folder": Click this button will create a new empty folder in current folder.
"Rename": Select a file or folder in the compilation, click "Rename" button to change the name for it.
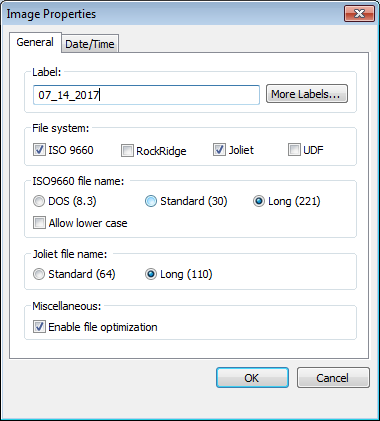
"Label": Click this button if you want to change the default label for the ISO file.
"Advanced": Click this button if you want to change the ISO properties. Please don't change them if you are not sure.
Click "Next" when you finish editing the compilation.
4. In the burn setting dialog, keep the burning drive unchanged. The default burning speed is the maximum speed allowed, you can select a slower speed if needed.
If you want to make sure that the new created disc is readable, and all files are identical with the original files, please check the option, "Verify written data".
To provide best compatibility, it is suggested to check the option, "Finalize disc". However, you can not add files to the disc again if the disc is finalized.
Click "More settings..." to view or change other advanced burning settings.
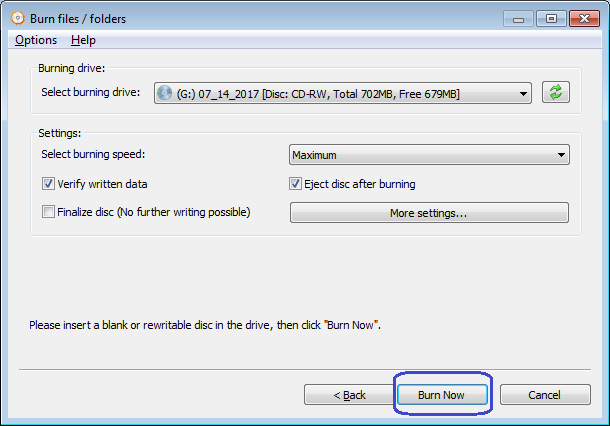
Click "Burn Now" button to start writing disc.
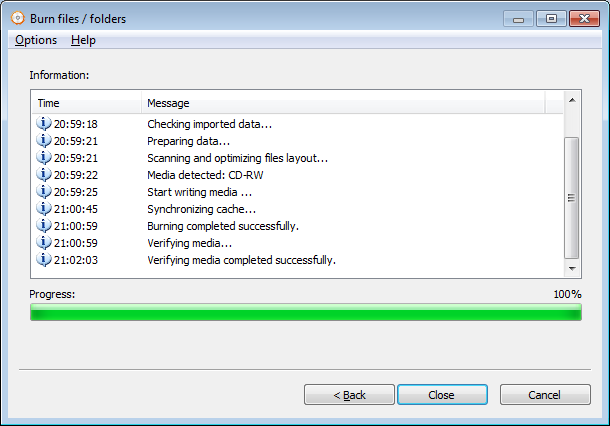
5. AnyBurn will start writing the files to the disc. If the disc is re-writable and not empty, the program will prompt you to erase the disc automatically. After the burning completes, you should see the message, "Burning completed successfully". If the "Verify written data" option is set and there is no errors during data comparing, you should also see the message, "Verifying media completed successfully".
Copyright 2004-2025 Power Software Ltd. All rights reserved.